This is my contribution to the DIY stompbox community and humanity in general. Well this and the Fooltone schematic.
Always the tinkerer, as I started building my own pedals I wanted a way to personalize them. After putting a superbright blue LED into my wah pedal I noticed it also worked as a mini flashlight. I realized it might be kinda cool if instead of the LED being a bright little dot on the top of a stompbox it would be nice if it could light up a small area of floor in front of it. This also lets you see the LED even when your foot is on the pedal, which often will cover up a standard position LED.
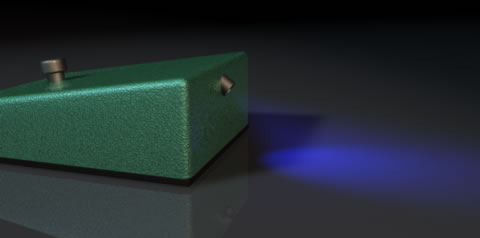
The Concept - 3D render
Since this is just for fun why not test it in the computer first. A few minutes on the Macintosh in Cinema4D convinced me I wanted to build one.
The Reality With a freshly soldered Sili-Face 2 in hand I set off making this dream a reality. I took an LED and went to the local hardware store in search of some tubing that would hold it snugly. I found some cheap aluminum stuff that worked nice. I cut a piece about an inch long, left one end square and cut the other end at an angle to make slipping the LED in easier once the tube is glued in place. I chose the thicker wall aluminum tubing over a thinner walled brass one as it's less likely the part sticking out of the box will get bent.
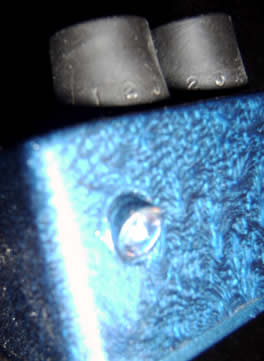
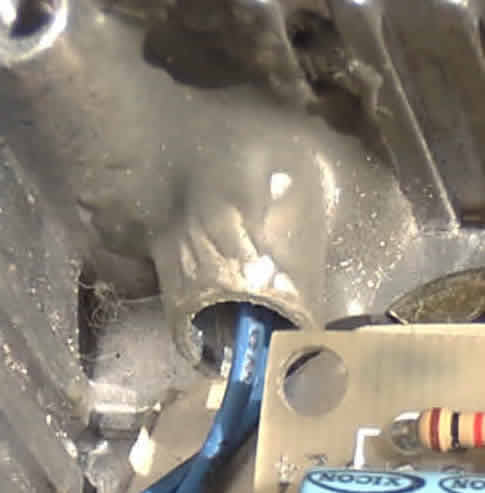
Here's a shot of the inside of the box so you can see the glue covered tube with the LED lens sticking out of the top side and the shrink tube covered leads on the bottom.

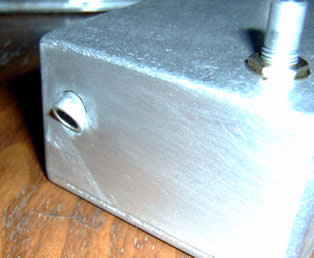
Next I had to decide where to drill the hole. As high as possible made sense since the higher it is the wider the pattern on the floor becomes. The lower you go the smaller the light spot but it will also get brighter so consider that when you make your placement choice. I put this one off to the side thinking it would be easier to glue in place if it was pushed up against the side. Exactly where you drill will be based on how high you want the LED, the angle you want, what box you use, what's inside the box etc...
Time to drill the hole. Find a drill bit the same diameter as your tubing. You'll need to do the math on where to drill and to get the angled hole so the light points down. To get the angled hole, centerpunch your starting point and simply drill straight in until you breakthrough and then lean the drill over until it's at the angle you want the tube to be at. This is a bit hack but will work for this project. If you have a drill press and a tilting table or other jig you can get a cleaner hole but that's overkill here.
Once the hole is drilled you can fit your tubing section to make sure it fits and points in a direction you like. Then glue it in place. I used JB Weld as it bonds to aluminum very well.
Slide the tube through the hole so the whole perimeter of the tubing sticks through the box, this will leave a nice little awning sticking out.
You can do as I did, glob in a bunch of glue and set the box aside until it dries.
Since this is a very low stress glue joint you can get away with this and if you pack the JB Weld on like I did it will be quite strong.
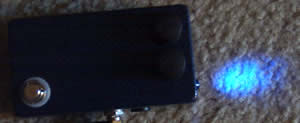
Once it's dry you're almost done. In this one I just slid the LED in and it stayed in place. You can pin down the LED leads to make it more secure, maybe zip tie them to a bracket. So far this one is staying in place just by bending the wires were I want it.
I'd stick to the superbright LED's as a standard LED isn't bright enough to throw a decent spotlight. That's it, have fun and remember it's not about how good you sound but how cool your pedalboard looks.